Best Practices: GS1 QR Code Printing Guide
Barcodes that don't scan properly can cause real problems. Retailers may reject products, delay shipments, and cause companies to lose time and money. In some cases, poor printing can even damage your brand's reputation, especially if the issue reaches customers.
Barcodes require grading and verification before companies sell products in stores or online. This process isn't optional. It's necessary to ensure the code works across the supply chain, from warehouse scanners to retail checkouts.
This GS1 QR Code printing guide explains what's needed to print QR codes that follow GS1 standards. It's for packaging teams, printers, quality control, and anyone putting these barcodes on products.
To give this guide more context, let's start with the basics of barcode verification.
Table of Contents
How are 2d barodes verified and graded
Each time 2D barcodes, like GS1 QR codes, are verified, a scanner doesn’t just check if they work. It checks how well they work. This is done by measuring parameters and then calculating an overall symbol quality grade.
The score ranges from 4.0 or A (highest) to 0.0 or F (lowest).
Below are the key factors that make up this grade, based on international standards and GS1 guidelines:
Note: The first step is a pass/fail check. If the code cannot be read, the entire barcode fails. If it passes, the rest of the parameters are evaluated. The final grade is determined by the lowest score among all parameters. So if just one area scores low, the whole barcode is considered that level of quality.
✅Decode
This is the first and most important test: can the barcode actually be read?
If the verifier can decode it using the ISO/IEC reference algorithm, it gets a perfect grade of 4.0.
If it can’t be read at all, the grade is 0.0—an automatic failure.
🌑Symbol contrast
This checks the difference between the darkest and lightest parts of the code.
The higher the contrast, the easier it is to scan.
🔲Axial nonuniformity
A 2D code should be evenly shaped and square. If it's stretched or compressed too much in one direction, the verifier will flag that.
🔀Grid nonuniformity
Think of this as measuring the barcode’s alignment. If the symbol looks twisted or the expected 90° angles are off, it gets a lower grade.
⚫⚪Modulation

The barcode should maintain consistent dark and light areas across the entire symbol. The score drops if some sections are washed out or printed too faintly.
🧩Unused error correction
2D barcodes are smart. They include built-in backup data (like error correction on GS1 QR codes) to help scanners recover specific damaged areas.
But ideally, none of this backup data should be needed. If the code is clean and doesn’t rely on error correction, it gets a perfect 4.0 score.
🧱Fixed pattern damage
Scanners look for key parts of a 2D barcode, such as the three large corner squares for QR codes.
For Data Matrix, they’re the solid L-shaped border and the dotted line opposite it.
If those are damaged, reading becomes harder. Any break or smudge in those fixed patterns brings down the score.
📏Print Growth
This measures if the printed modules (tiny squares or dots) are larger or smaller than they should be.
Too much ink spread? Fuzzy edges? That affects the accuracy of the code.
This parameter was formally added in ISO/IEC 15415:2024 and is now part of the grading.
Make sure your GS1 QR code generator applies all the correct visual parameters listed in this guide.
With that out of the way, let’s move on to the printing guidelines.
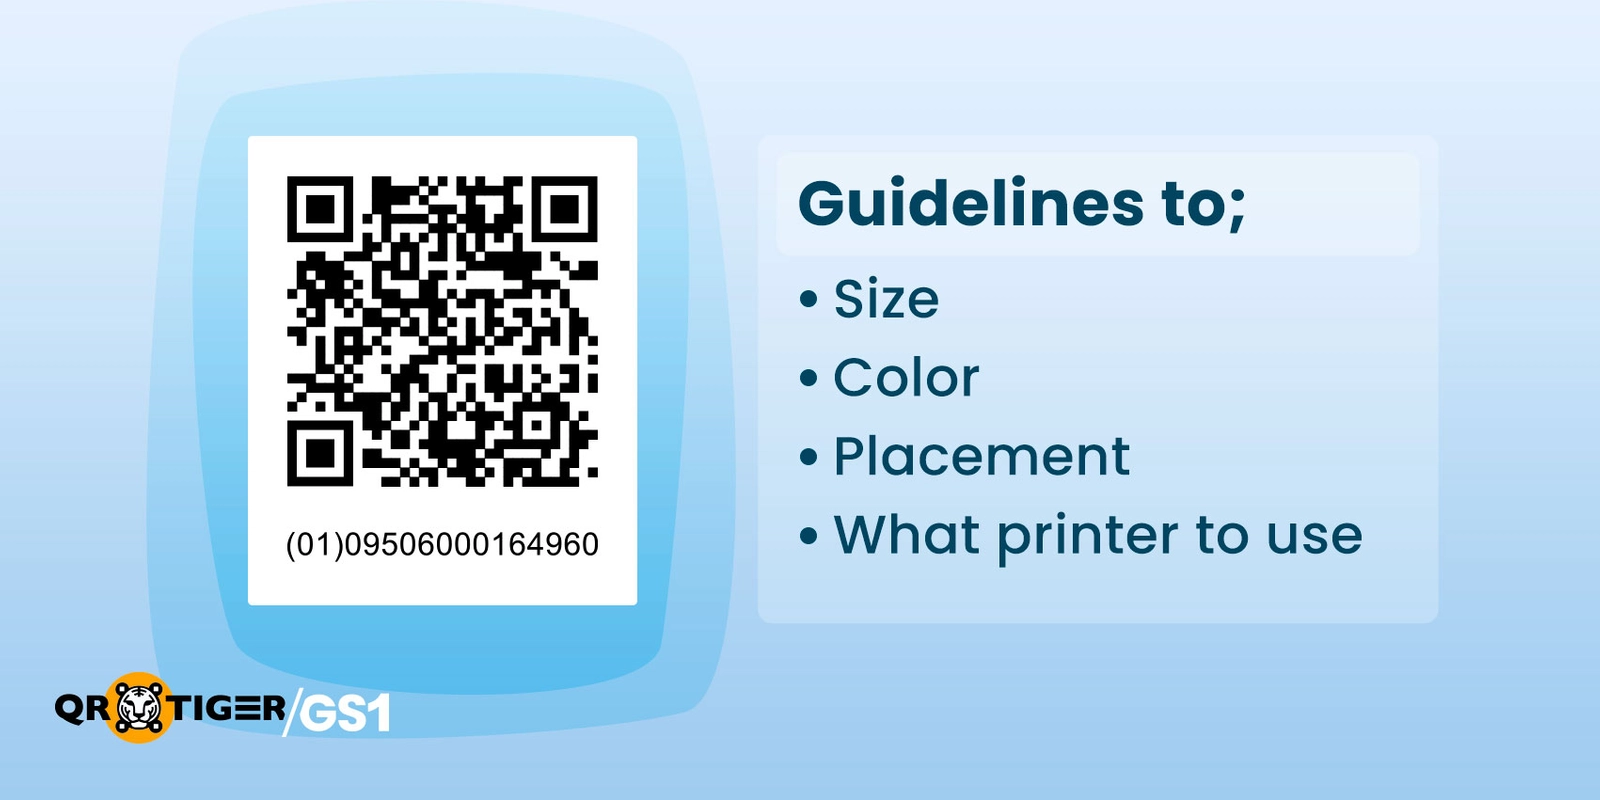
GS1 QR code printing guide
Each section tackles one part of the process, so you can build a passing barcode and avoid ending up in the reject pile.
🧊Barcode size (X-dimention)
GS1 2D barcodes, like QR Codes and Data Matrix, are made up of tiny square dots called modules. Think of them as the building blocks of the barcode. The size of each individual module is called the X-dimension
The total barcode size depends on:
- How much data is put in, and
- How big each module is.
It’s just like LEGO: the more bricks you stack, the bigger your structure gets. If your modules (bricks) are smaller, you can keep the overall barcode compact—but it becomes harder to scan, especially if printed poorly or scanned from a distance.
A smaller X-dimension means a more compact barcode. Minimum size per square (module): 0.396 mm (0.0150 inch)
A larger X-dimension creates a bigger barcode, but it is easier to scan from farther away. Maximum size per square (module): 0.990 mm (0.0390 inch)
That range was chosen to make sure scanners can read the barcode reliably.
Note: The more data you put in the code, the bigger it gets. So if your QR code is doing too much, the size will need to grow to keep it scannable.
Use the GS1 2D Barcode Size Estimator to see the minimum and maximum sizes. If the code is for product packaging, set the tool to “ONLY General Retail POS, NOT in General Distribution.” Retail POS allows smaller QR codes, while general distribution requires larger ones.
🚫Quiet Zone (The “No print space”)
Barcodes need breathing room. That empty space around the code? It’s called the Quiet Zone.
It helps scanners recognize the code’s start and stop points. Without it, even a perfectly printed barcode might fail.
For QR Codes, the Quiet Zone should be at least 4 X-dimensions wide on all sides.
For Data Matrix, the minimum is 1 X-dimension wide on all sides.
💡 Example: If each square in your QR code is 0.5 mm, your Quiet Zone should be 2 mm on each side (0.5 mm × 4).
Don’t put logos, colors, or text inside this area. And whenever possible, leave a bit more than the minimum to make up for slight print shifts or cutting margins.
Important: Many manufacturers are in a transition period. So it's common to see both a UPC/EAN barcode and the QR Code on the same product label.
This setup ensures that businesses without 2D barcode scanners can still scan the traditional barcodes.
Each barcode needs its own Quiet Zone. Don’t let them overlap. Don’t cram them too close. If either barcode loses its clear space, it may fail to scan.
🎨 Design
For GS1 QR code colors contrast matters.
The barcode should be printed in a dark color that reflects less light, and placed on a light background that reflects more light. This helps scanners read the code clearly.
Barcode scanners don’t see color the way humans do. When testing barcode quality, verifiers use a specific red light, 660 nanometers (nm). It’s a deep red wavelength chosen because it matches how most barcode imagers scan in real-world settings.
The pattern may not be seen if the barcode and background don’t reflect light differently at that exact red wavelength. So even if your code looks sharp to the eye, it could fail under actual scanning.
Things to avoid in QR code design:
- Gradient or mixed colors in the QR code
- These make light and dark areas uneven, violating the modulation requirement.
- Changing the structure or inserting a logo into the pattern. This can break key elements like the finder pattern or module spacing. Violates the unused error correction requirement, giving a low score, or making the code unreadable
🧼 Printing on Transparent or Reflective Surfaces
Scanners don’t work well with clear, shiny, or reflective packaging. Light bounces back in odd ways, making the QR code hard to read or even impossible to detect.
The fix we use now is the same; Use a solid white background behind the code.
Here’s what works in real life:
- Thin plastic films (like those used in fresh produce): Print QR code on a white adhesive label. It’s cheap, clear, and it works.
- Thick plastic, glass bottles, aluminum cans, or metal packaging: Use a printable, water-resistant label. Make sure there’s enough quiet zone (empty space) around the code.
🥫 Printing on Curved or Cylindrical Surfaces
Most barcodes are printed flat, then applied to bottles, jars, cans, and other curved packaging.
Here’s what to keep in mind:
- Apply where the curve is least noticeable.
- The flatter the surface, the better the scan. Avoid areas with sharp curves or edges.
- Shrink sleeves (like on soda cans) need special attention. The barcode may distort when the sleeve shrinks. Always account for this in your design and testing.
For those using Direct Part Marking (DPM) on curved surfaces
Make the QR code small enough so the scanner can capture the full symbol in one shot, but don’t shrink it so much that the module (dot) size falls below the minimum spec.
Minimal error correction use is key.
To avoid distortion and ensure scanners can read the code:
For 1D barcodes: Make sure the label width is no more than 1/3 of the container’s circumference.
For 2D barcodes: Keep the width no more than 1/4 of the circumference. This helps maintain the square shape of modules.

Barcode Label Orientation
Since initially, most packages will have UPC/EAN and these QR codes to support businesses that are still transitioning.
In this case, a ladder (vertical) layout is recommended for the 1D barcode. This orientation aligns better with traditional retail scanner paths.
Note: The QR code is omnidirectional, meaning its scan angle doesn't matter. However, 1D barcodes still need careful placement to be readable. Eventually, when only the QR code remains, this will no longer be a concern.
Suggested barcode printing systems
Here are our top picks for GS1 QR code printing clearly and reliably across different packaging types. This list focuses on systems that produce sharp modules, consistent ink transfer, and good contrast.
Note: This will be updated as new printing technologies or scanning environments evolve.
1. 🧰 Most Versatile
🏆 Winner: Thermal Transfer Printers
- Prints on paper, polyester, polypropylene, and other synthetics
- Produces durable, scannable barcodes for both indoor and harsh environments
- Offers adjustable print speed and resolution to suit packaging needs
🥈 Runner-up: Industrial Inkjet (CIJ/DOD)
- Works on uneven surfaces, metals, plastics, and packaging materials
- Less consistent print quality, especially on porous or highly curved surfaces
2. 💸 Most Cost-Effective (Short-Term Use)
🏆 Winner: Direct Thermal Printers
- No ribbons, toner, or ink → lowest operational cost
- Great for shipping labels, receipts, and short-term use barcodes
🥈 Runner-up: Dot Matrix
- Dirt cheap and works for multi-part forms
- Barcode quality is poor and not ideal for scanners needing precision
💡 Long-Term Savings Pick:
Thermal Transfer – higher upfront cost but cheaper per label over time
3. 🔩 Best for Direct Part Marking (DPM)
🏆 Winner: Laser Etching / Engraving
- Permanent marks on metals, plastics, or ceramics
- Survives chemicals, abrasion, and high heat
- Ideal for automotive, aerospace, and medical tools
🥈 Runner-up: Dot Peen Marking
Good for hard plastics and metals
Cheaper than laser, but more limited in surface and detail
4. 🎯 Best Print Quality
🏆 Winner: Thermal Transfer (Labels) / Laser Printers (Documents)
- Thermal Transfer: High-resolution, crisp modules with excellent edge definition
- Laser Printers: Great for paper documents with embedded barcodes—clean and smudge-resistant
🥈 Runner-up: Piezo Inkjet (TIJ)
- High DPI output for packaging
- Ink-dependent, so maintenance and material compatibility matter
There’s no outright “bad” choice, only what works best for your business setup, materials, and label life span. Each system has its own strengths, but they all demand one non-negotiable: Testing.
Always run samples and verify scan results under actual conditions. What prints well in theory might fail on your warehouse floor or retail checkout line.

Wrapping Up
The GS1 QR code printing guide is so you can get started. From sizing and contrast to materials and scanner expectations, the goal isn’t to overwhelm. It’s to give you a foundation that works.
Your printing needs will evolve as systems, supply chains, and partners evolve. But if you stick to the basics outlined here and test thoroughly, you’ll avoid 90% of the pitfalls others learn the hard way.
Print smart. Scan clean. Repeat.

DISCLAIMER: We acknowledge that GS1, as well as the materials, proprietary items, and all related patents, copyright, trademark, and other intellectual property (collectively, “intellectual property”) relating to its use, are the property of GS1 Global, and that our use of the same shall be in accordance with the conditions provided by GS1 Global.
